AWS Queues And Lambda Processing - A Simple, Quick Walkthrough.

Have you ever wondered what a queue is or how you could implement a queue in AWS? Perhaps you’re considering using a queue for a solution that you’re working on but you’re not fully sure how the pieces fit together?
If that’s you — you’re in the right place! Today we’ll remove the mysticism of queues in AWS. But how will we remove the mysticism? By walking step-by-step for how to configure an SQS queue and use Lambda to process it. **By the end of this article you’ll understand what a queues is, why you might need one and how to setup one up SQS and Lambda. **
What Is a Queue?
The first place we’ll start is with the question: What is a queue, and why would we need one? So let’s go ahead and define a queue.
A queue is a software component that allows large volumes of data to be processed asynchronously. Messages are pushed onto a queue by producers, and these are then picked up in turn by consumers at a speed which makes sense for the consumer.
But, why might we need this behaviour in the first place?
Why Might We Need a Queue?
Let’s explore the idea of queues with a real example.
Imagine you’ve got some work to be processed, but the work is not time-critical. Let’s say it’s producing end of month reports for an internal business function, like Finance. The reports are not read immediately so the system doesn’t have to process everything immediately.
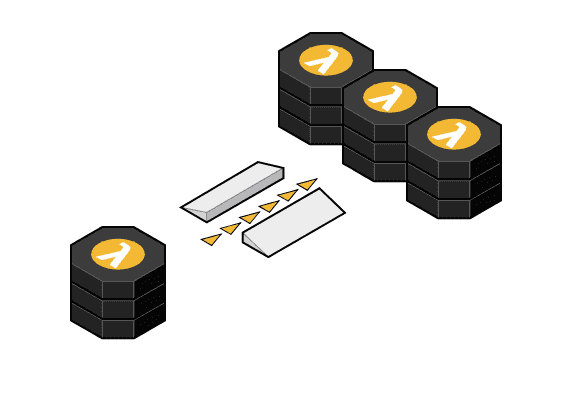
Lambda Diagram
In order to save some money the architecture is setup to use EC2 spot instances. EC2 spot instances are launched and terminated based on their current sale price. Spot instances simply allow AWS to sell of unused reserved machines at a discount price to avoid under utilisation. But, one big downside with spot instances is that they may be terminated at any point.
In order to deal with this type of architectural where the consumer of the message may be up or down at different times we can use a queue to ensure reliable processing. To do that, rather than messages being processed directly by our EC2 instance instead we can push the messages to a queue and deal with them when the instance is up and ready.
Okay, so if that’s starting to make sense, let’s take it one step further and add something tangible into our conversation. Let’s talk about how we can implement a basic queuing system in AWS. For simplicities sake let’s use AWS SQS and Lambda for our queue and our consumer, and we’ll manually produce messages.
The 4 Things You Need for SQS and Lambda
For a basic AWS Lambda and SQS setup we need four things. Also for simplicities sake I’m going to presume you already have a Lambda setup.
What we’ll need is:
-
** An SQS Queue**— Our SQS queue will be the target for our messages.
-
** A Lambda Trigger On Our Queue**— We’ll need to tell SQS that Lambda is a consumer.
-
** A Lambda Trigger To Receive SQS Messages**— We’ll need to tell Lambda that it can be triggered by SQS.
-
** An Updated Lambda IAM Policy**— We’ll need to update Lambda permissions to get SQS data.
That gives us the high level picture of what we need, now let’s dive into the details of each of these steps. For each step I’ll show you the Terraform configuration that goes with that infrastructure, and also a screenshot of what the created resource looks like.
1. Create an SQS Queue
Firstly, let’s setup our queue. To create this, all we need is a name. There are some other options to our SQS queue, such as whether we want messages to be processed in order, but we won’t need any of those options for today. Once your queue is created, you should see something like this…

SQS Example
Now that we have our queue that’s great, but it’s not very useful if noone uses the data pushed to it, we need to setup a consumer to receive the messages from the queue.
2. Trigger Lambda on Message to SQS
In order to allow our Lambda to be triggered from SQS we need to create an event source mapping. Our event source mapping in this case also controls the amount of messages that are delivered at once. We can either choose to consume just one message at a time, or several. With our trigger setup we should see the following…

SQS Lambda Invoke
Now with our SQS queue setup and our Lambda trigger setup that concludes the SQS setup, but we’re not done! We still need to edit our Lambda in two ways to ensure that SQS can reach it.
3. Create a Lambda Trigger
The first thing you’ll need to change about your Lambda is ensuring that it has a permission to be invoked from SQS. To do this you need to add a Lambda permission that allows the specific SQS to invoke it. When our Lambda is updated, we should see the following trigger…
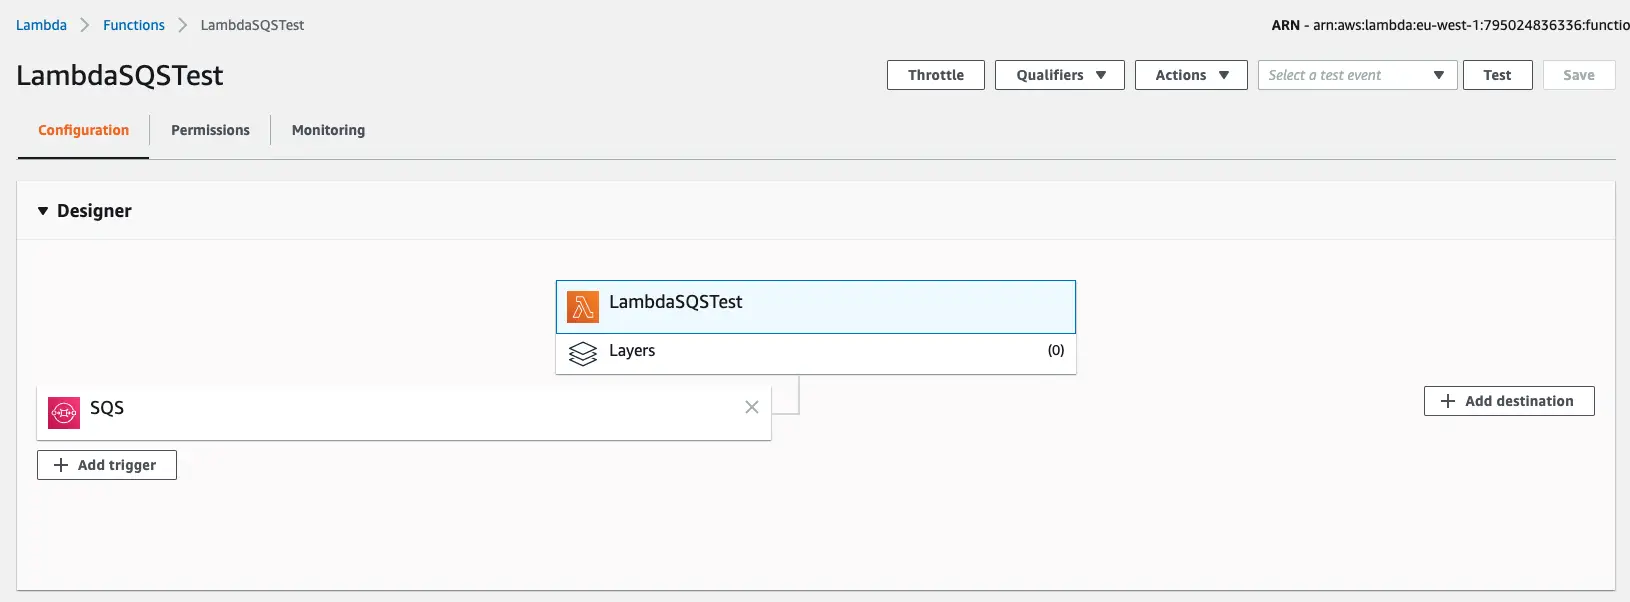
SQS Lambda Trigger
4. Create Lambda Permission
Lastly, in order to work with SQS our consumer needs three permissions to allow it to do what it needs. We need to be able to get information about the queue, receive messages and delete messages once we are done processing. We therefore need to update our IAM policy which is attached to our Lambda. In our example we’re adding directly to our IAM policy. When added, your policy should look something like this…
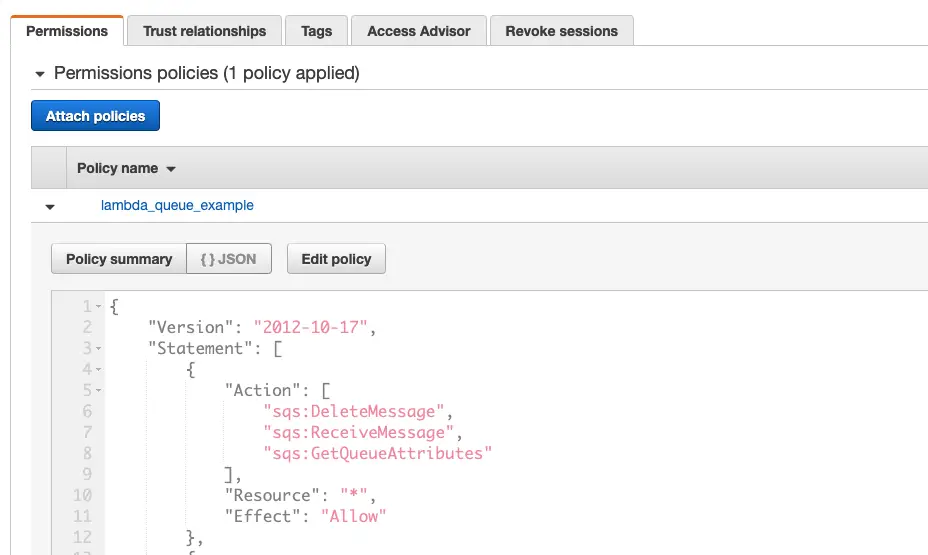
IAM Lambda SQS
And that is it! That’s all you need to process messages from SQS using AWS Lambda. Let’s go ahead and test our work to see if everything is working as expected.
Testing Our SQS and Lambda Invocation
To put a message onto our SQS queue we can do that in the interface of SQS. Right click on the SQS queue and select “send message”. The message prompt should look like this…
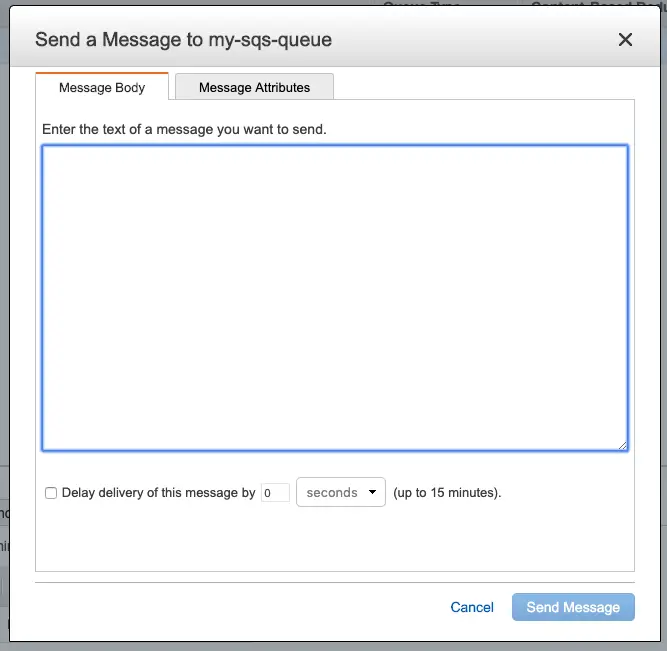
SQS Message
If our Lambda is setup to log our event, we should then see it in our CloudWatch console and we can see that everything is working as expected.
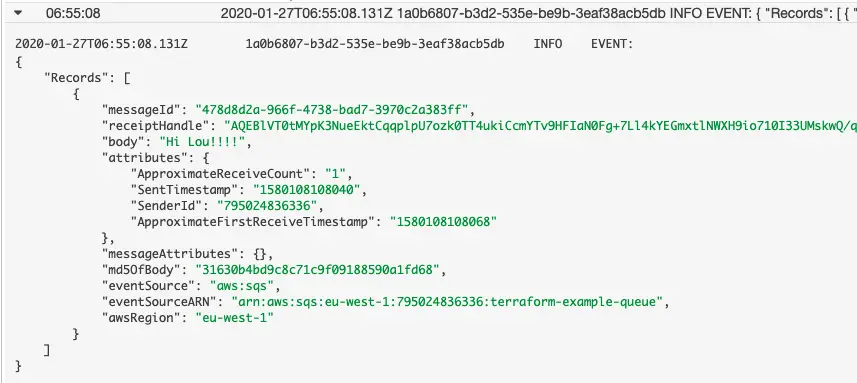
SQS Lambda Event Log
SQS and Lambda: Up & Running!
And that concludes today’s article! Now you should know the foundations of building an asynchronous architecture using SQS and AWS Lambda.
Asynchronous architectures bring great power and complexity, but are a great tool in your arsenal for the right situation.
I hope that cleared up some of the mysticism around what a queue is and how it works in AWS. And I’m hoping it makes the whole thing a little less scary!
Speak soon, Cloud Native friend!

Lou Bichard
Hey I'm Lou! I'm a Cloud Software Engineer. I created Open Up The Cloud to help people grow their careers in cloud. Find me on Twitter or LinkedIn.
See all posts →Latest posts by Lou Bichard (see all)
- 2024 Summary - A year of trips and professional work - January 9, 2025
- 2023 Summary - Data Driven Stories About The Cloud - December 31, 2023
- 2022 Summary - The Open Up The Cloud System - January 1, 2023